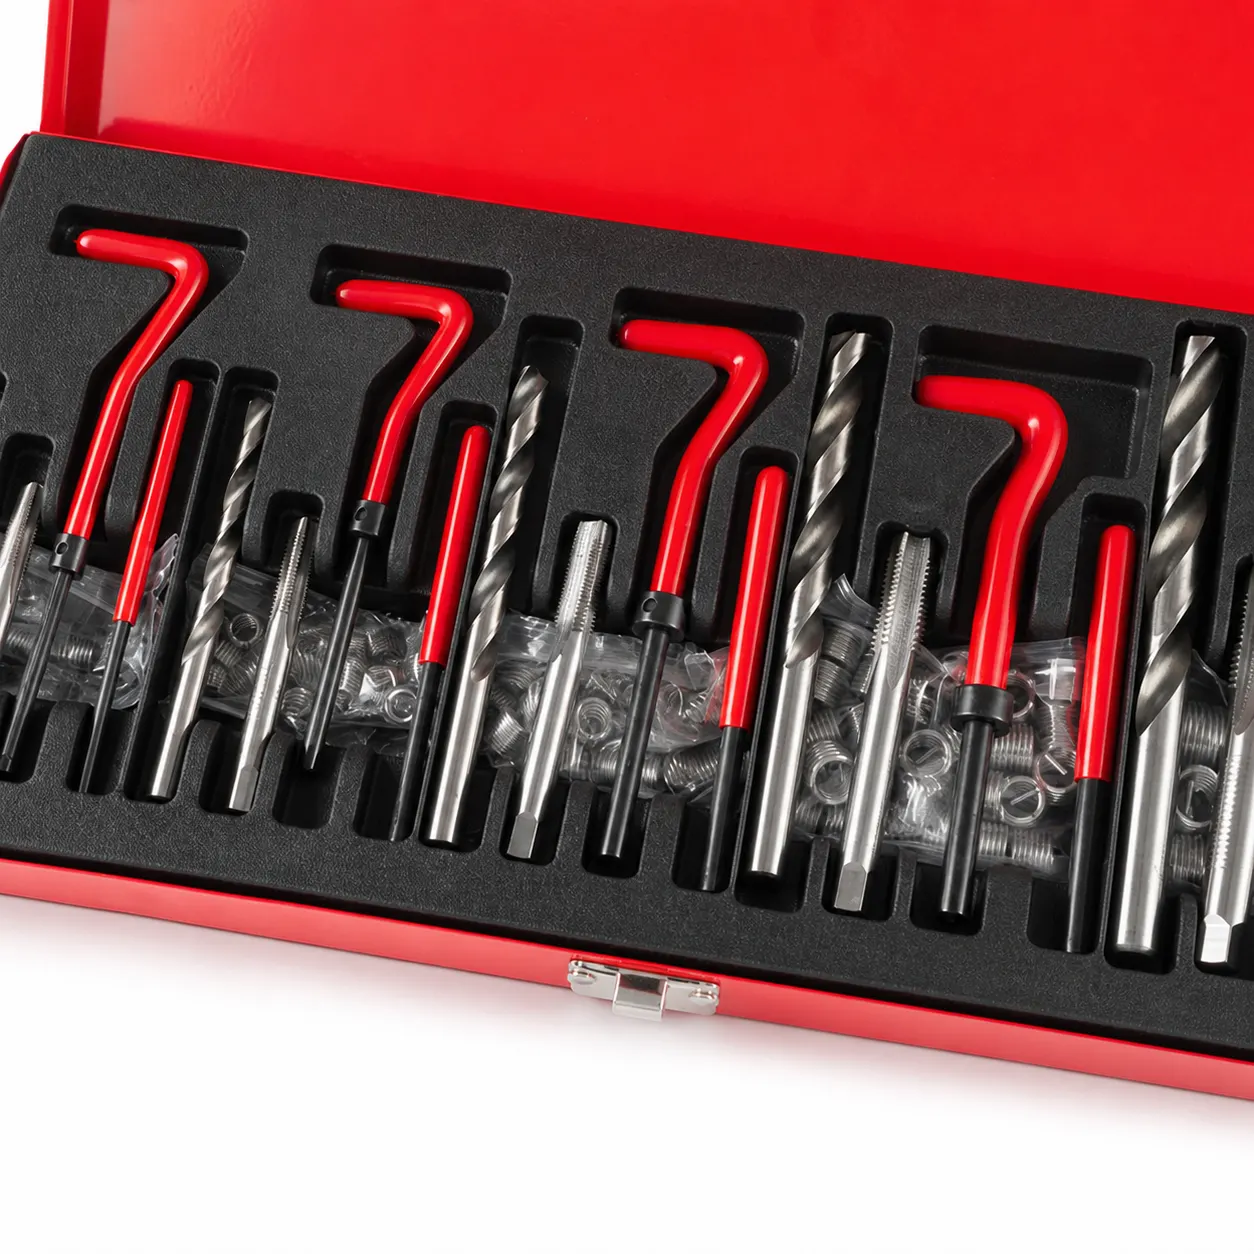
Short answer: An M8 thread repair kit can be a practical option when a confirmed M8 internal thread is stripped and the original bolt size needs to remain unchanged. The documented product is a 131-piece M5-M12 thread repair tool kit, with taps and drills identified in the listing, high-speed steel listed as the material, and vehicle and home repair applications stated. That makes it relevant to compare, but it does not prove suitability for a particular casting, bracket or vehicle part. Inspect the hole, control access and debris, and check the part's risk before drilling.
Decide whether an M8 insert solves the real fault
An M8 bolt that spins may indicate a stripped female thread, but it may also be dirty, cross-threaded, damaged at the male end or the wrong pitch. Confirm the fault before enlarging or re-cutting the hole. An insert is most relevant when the original metric fixing should be kept and the surrounding material can accept the repair method. If changing bolt size would affect clearance or a mating hole, an oversize repair is not automatically better.
Treat the part as part of the diagnosis. A removable workshop bracket is not equivalent to a load-bearing, sealing or safety-related assembly. The product page can document a tool set, but it cannot confirm that an M8 repair is acceptable for brakes, suspension, steering, lifting equipment or a structural joint. When the consequence of a weak repair is serious, ask a competent repairer to assess it before cutting.
Read the M5-M12 listing without filling gaps
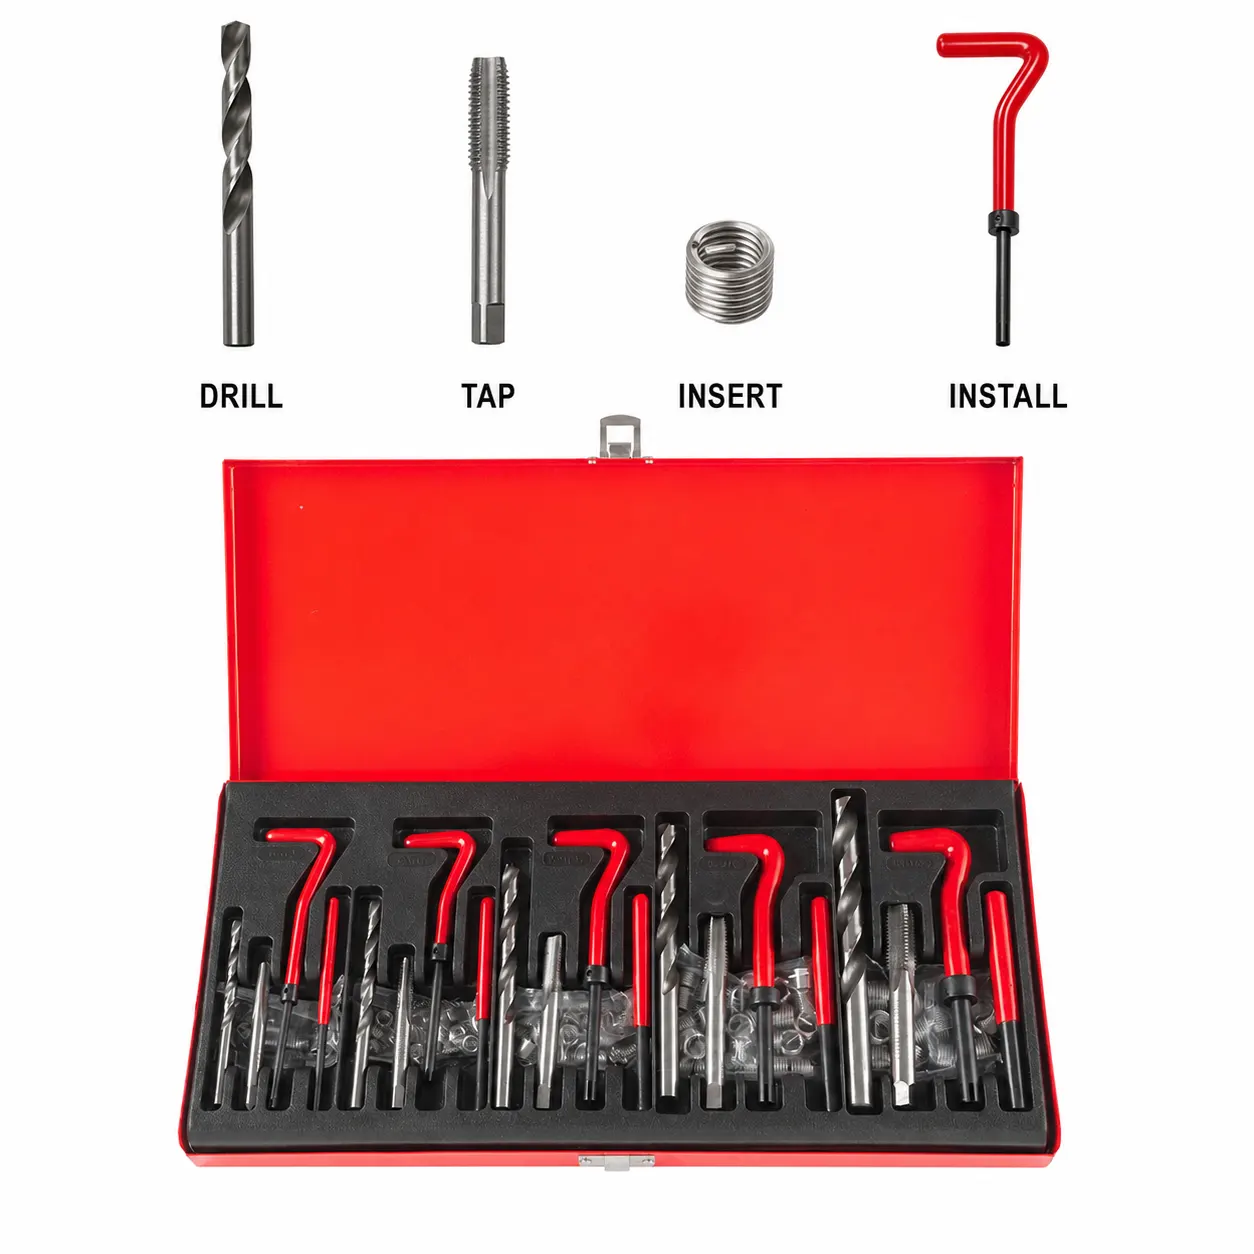
The product is listed as a 131-piece thread repair tool kit in an M5-M12 configuration. The title identifies taps and drills, the attributes list high-speed steel material, and the applications list vehicle repair and home repair. Those details support an M8 shortlist for a buyer who wants more than one metric size. They do not establish the precise M8 pitch, insert length, drill dimension, tool accuracy or fit for a named component.
A grounded buying check looks like this:
| Product fact | Practical meaning | Open question |
|---|---|---|
| M5-M12 configuration | M8 is within the listed size span | Is the original hole the correct M8 pitch? |
| Taps and drills identified | The set is positioned for thread repair tooling | Which matching parts are supplied for this job? |
| High-speed steel listed | Material is a published attribute | What result is appropriate for this particular workpiece? |
| Vehicle and home repair applications | The intended use is broad | Is the part critical, sealed or vehicle-specific? |
Set up the repair before the first cut
Check the hole and its surroundings before selecting the matching tools. Look for cracks, thin walls, distortion, oil, a sealing face and nearby cavities. Decide whether the component must come off the vehicle or equipment so the drill and tap can be held square. If the hole is blind or shallow, measure the available depth against the actual insert and instructions; manufacturer does not specify a universal blind-hole arrangement for this product page.
Make a debris plan before drilling. Protect or remove sensitive parts, keep chips out of enclosed spaces and prepare a way to retrieve the driving tang. Follow the supplied instructions for the sequence and tool choice. After installation, clean the area and turn the original M8 fastener by hand first. A bolt that needs force is a signal to stop, not a reason to increase torque.
- Confirm the original M8 diameter and pitch and record the part's function.
- Inspect material condition, access, depth, sealing surfaces and the consequences of chips.
- Select the matching drill, tap, insert and installation tools from the documented set and instructions.
- Work squarely, control debris and remove the tang or other waste before testing.
- Start the original fastener by hand; stop and reassess any binding or misalignment.
Know what the kit does not promise
The product page does not specify a load rating, certification, corrosion resistance, accuracy, compatibility with a named vehicle, service life or guaranteed result. Manufacturer does not specify those values in the available product facts, so they should remain unknown. A 131-piece count is not evidence of performance, and high-speed steel is not a substitute for matching the tool to the workpiece and method.
For an accessible, non-critical M8 hole, the set is a reasonable product to compare with a single-size alternative. For a sealed casing, a shallow blind hole, a difficult angle or a safety-related component, a professional assessment may be the more economical route. The boundary is simple: buy the documented tooling for a diagnosed job, not a promise that every stripped thread can be made safe.
Related guides and product details
If the M8 pitch is confirmed and the part is accessible, non-critical and controllable, compare the documented M5-M12 set. Escalate uncertain or safety-related repairs. Read Helicoil Repair Kit: Checks Before Restoring a Stripped Thread for related guidance. Read M6 Helicoil Kit: How to Check the Hole Before Repair for related guidance. Review the documented specification on the 131-Piece Thread Repair Tool Kit, M5-M12 product page before ordering.
Sources and safety context
- Supports the M5-M12 configuration, 131-piece count, named taps and drills, listed material and stated applications. Thread Repair Tool Kit product page.
- Supports manufacturer context for wire insert systems and installation tools. Heli-Coil Wire Insert Systems.
- Supports using the correct insert system and following its documented installation guidance. Heli-Coil Insert Systems Catalogue.