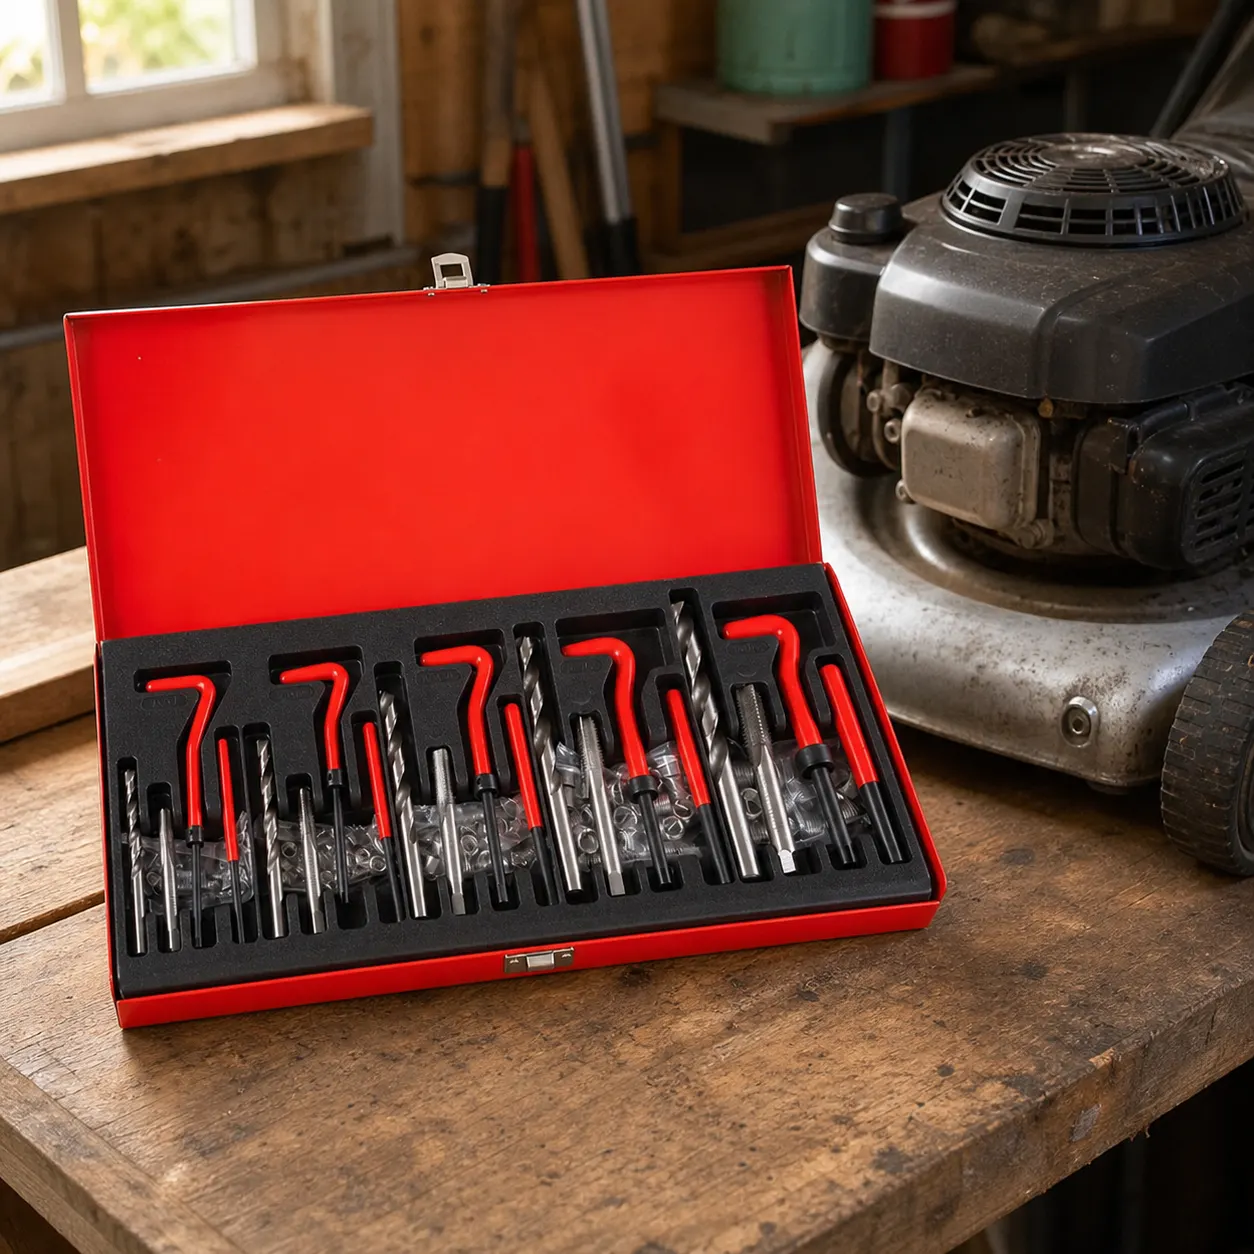
Short answer: An M6 helicoil kit only makes sense after the damaged hole has been confirmed as an M6 internal thread and the repair setting has been checked. The product documented here is a wider 131-piece M5-M12 thread repair tool kit, so M6 is within the stated size configuration, but that does not confirm pitch, insert type, depth or vehicle compatibility for a particular job. Check the original bolt, surrounding material, access for square drilling and tapping, and the consequences of swarf before comparing a multi-size kit with a single-size option.
Confirm that the problem is really M6
A bolt that will not tighten can point to a stripped internal thread, damaged male threads, dirt, cross-threading or a mismatch between bolt and hole. Check the original fastener and pitch before choosing any insert. If only the first thread is marked, the repair decision may differ from a hole that has lost most of its engagement. An M6 label on a search page is not enough evidence for a particular component.
The documented product is a 131-piece M5-M12 thread repair tool kit, which places M6 inside the listed metric range. That is a product-fit fact, not proof that every M6 hole can be repaired. The surrounding material must be sound, the tool must be controllable, and the finished thread must be appropriate to the component. Manufacturer does not specify vehicle-specific compatibility or a guaranteed repair result.
Compare the M6 job with the product facts
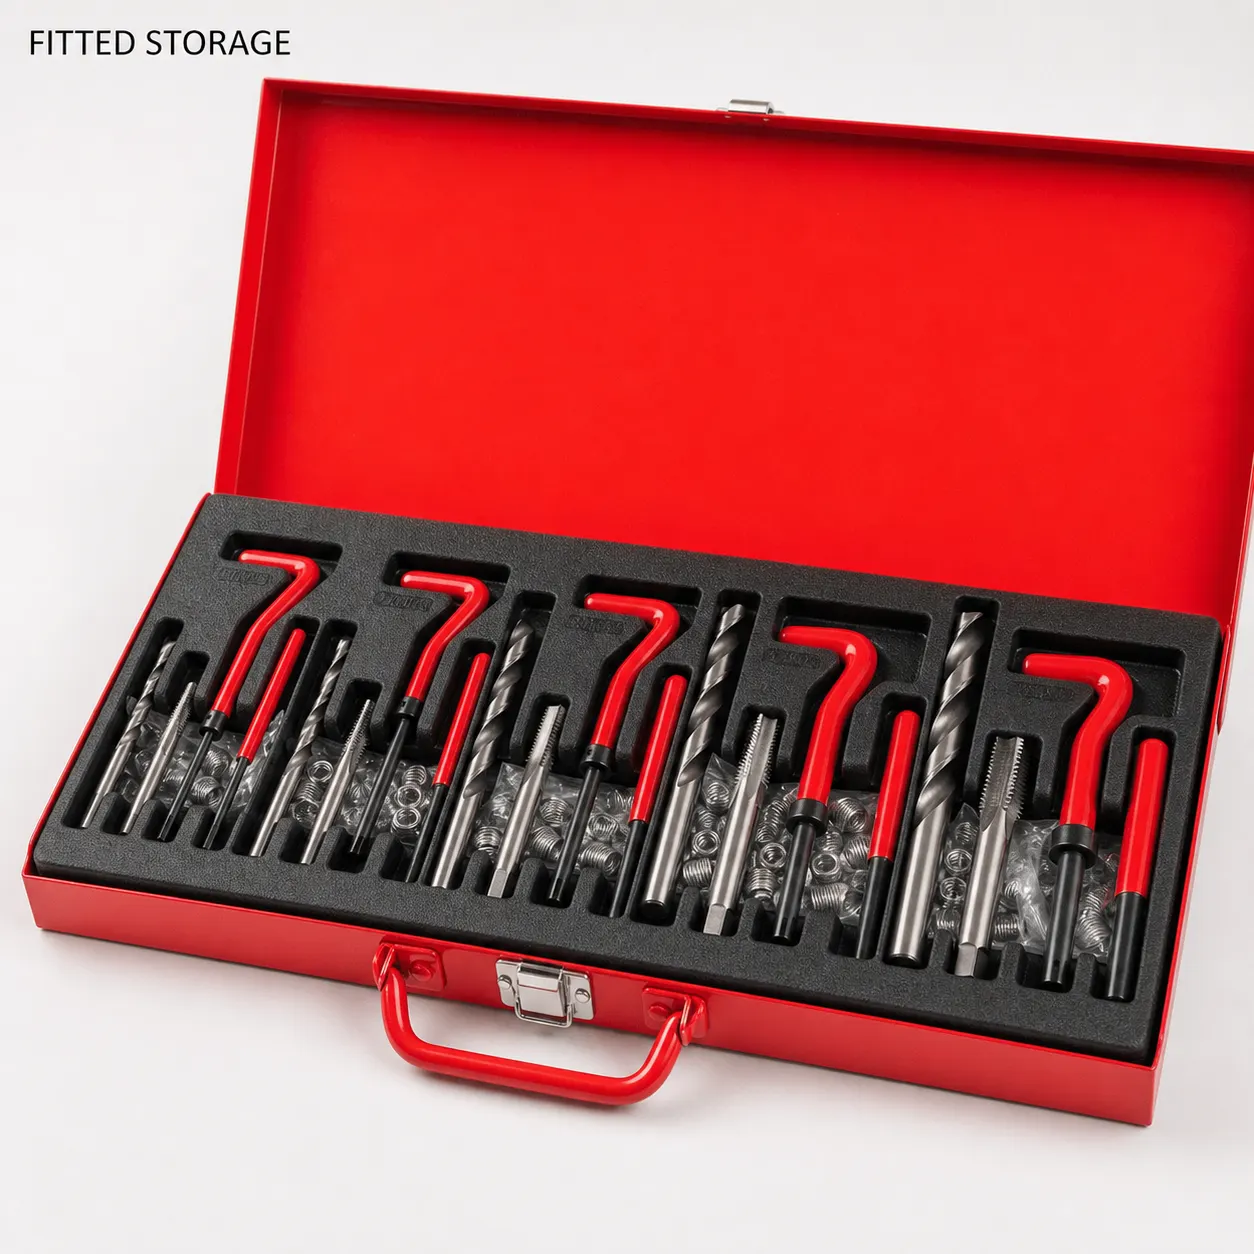
The product page identifies taps and drills in the repair-tool set, lists high-speed steel material, and states vehicle repair and home repair applications. Those facts make the kit relevant to a buyer with mixed metric work. They do not specify the exact pitch, insert length, blind-hole depth, torque outcome, accuracy, certification or service life for an M6 repair.
Use the comparison below to keep the purchase decision honest.
| Question | Documented answer | Do not assume |
|---|---|---|
| Is M6 covered? | M6 sits within the listed M5-M12 configuration | That the pitch or every M6 insert is confirmed |
| What tools are named? | Taps and drills are identified | That any ordinary tap is interchangeable with an insert tap |
| What material is listed? | High-speed steel | A particular cutting life or result in a named part material |
| Where is it positioned? | Vehicle repair and home repair | Vehicle-specific compatibility or safety approval |
Inspect access, surface and swarf control
Before cutting, inspect whether the part can be removed, clamped and viewed from a square working angle. Check for cracks, thin walls, distorted faces, nearby seals and enclosed spaces. A shallow blind hole may not leave enough room for the intended insert or tool movement. The product page does not specify a special blind-hole kit, so depth must be established from the part and the supplied instructions.
Swarf is part of the decision, not an afterthought. Plan how chips will be collected and removed, especially near engines, housings, tanks or other sensitive cavities. Once the insert is installed by the documented method, clear the area and start the original bolt by hand. If it binds, rocks or needs force, stop and diagnose the repair rather than tightening into uncertainty.
- Match the original bolt and pitch to M6; do not infer size from appearance alone.
- Check the component for cracks, thin material, sealing faces, blind depth and critical loading.
- Confirm there is a stable, square approach for the matching drill and tap.
- Plan chip and tang removal before the first cut, then follow the supplied installation instructions.
- Test the original fastener by hand and refer critical work to a competent repairer.
Choose a broad set or a single-size repair
A wider M5-M12 set is easier to justify when a garage or home workshop regularly meets different metric thread failures. The 131-piece count and the listed taps and drills suggest a broader tool case rather than a one-off M6 purchase. If only one repair is certain, a single-size kit may reduce unused tooling and make the matching parts easier to identify.
Neither choice removes the technical limit. The product page does not specify accuracy, compatibility with a named vehicle, load rating, certification, corrosion behaviour or insert life. For a non-critical, accessible hole with a confirmed M6 thread, compare the set on its documented facts. For a safety-related or poorly understood repair, spend the next effort on assessment rather than on a larger piece count.
Related guides and product details
Use M6 as a confirmed thread diagnosis, not a shopping guess. If the hole is accessible and non-critical, the documented M5-M12 set is worth comparing; otherwise get the part assessed first. Read M8 Thread Repair Kit: Checks for a Stripped Workshop Hole for related guidance. Read Helicoil Repair Kit: Checks Before Restoring a Stripped Thread for related guidance. Review the documented specification on the 131-Piece Thread Repair Tool Kit, M5-M12 product page before ordering.
Sources and safety context
- Supports the M5-M12 configuration, 131-piece count, named taps and drills, listed material and applications. Thread Repair Tool Kit product page.
- Supports manufacturer context for threaded insert systems and their installation tooling. Heli-Coil Wire Insert Systems.
- Supports the need to select the correct insert and follow the relevant installation procedure. Heli-Coil Insert Systems Catalogue.