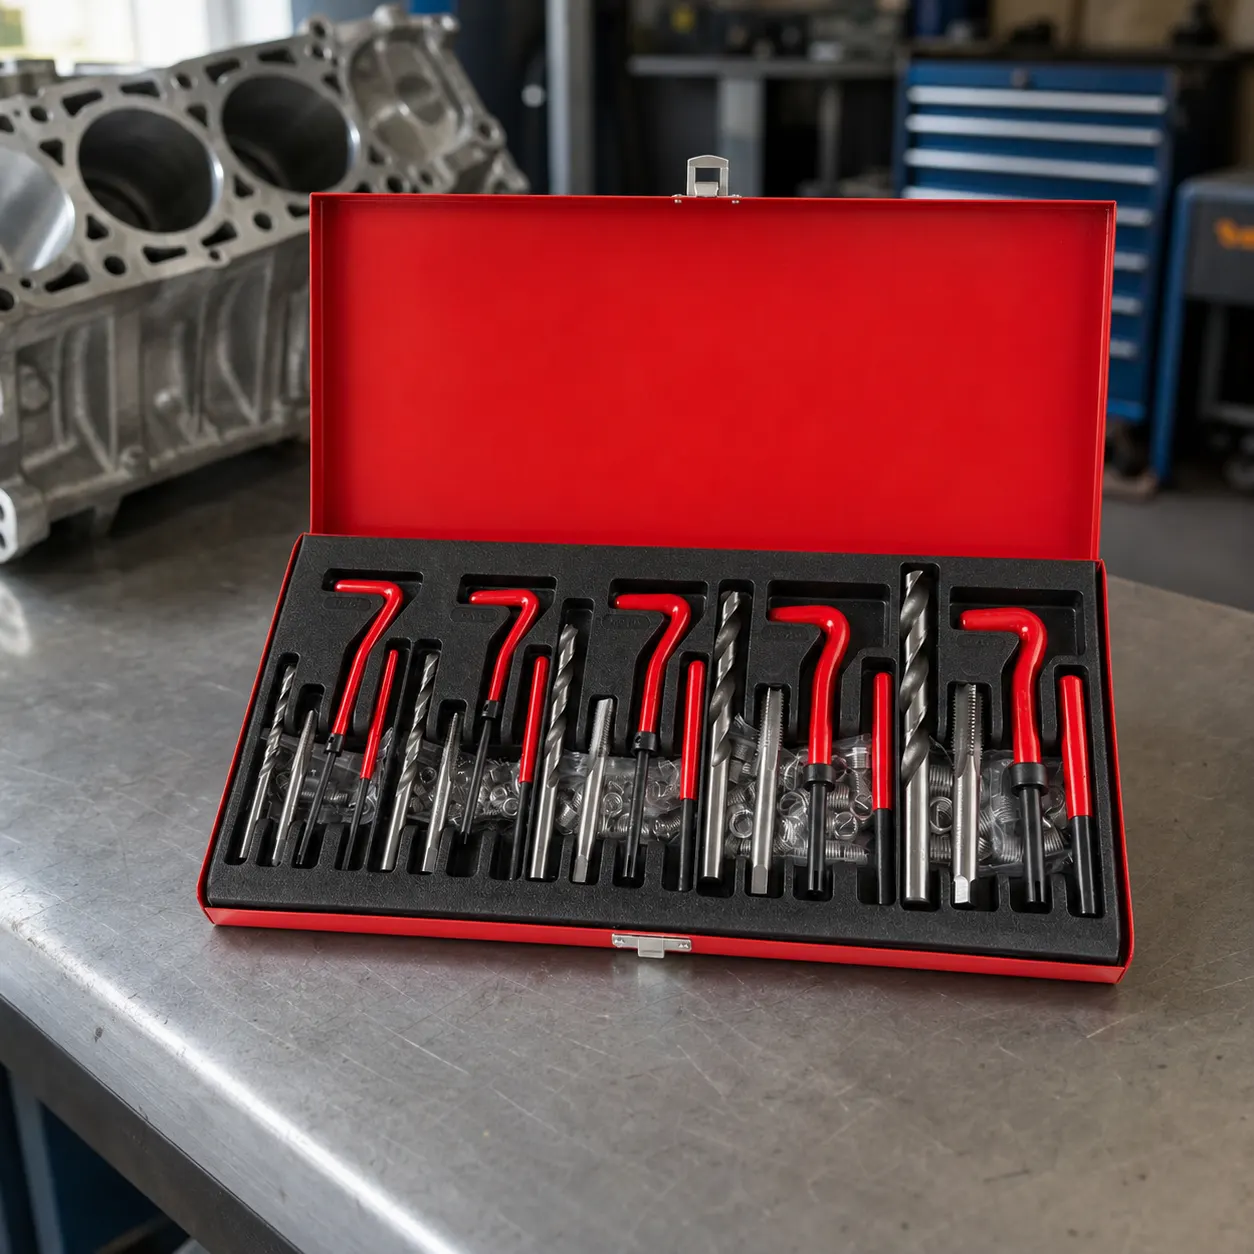
Short answer: A helicoil repair kit is worth considering when an internal thread is stripped but the original metric bolt size still needs to be retained. The documented set here is a 131-piece M5-M12 thread repair tool kit, with taps and drills identified in the listing, high-speed steel listed as the material, and vehicle and home repair applications stated. Those facts establish a buying shortlist, not a guarantee that every hole is suitable. Before drilling, confirm the original size, inspect the surrounding material, plan how to control swarf, and decide whether the part is too safety-critical or awkward for a first repair.
When an insert repair is the right question
Start by separating a stripped female thread from a dirty thread, a damaged bolt or a wrong pitch. If the original internal thread has lost engagement and keeping the same metric fastener matters, an insert repair may be a sensible route. If the bolt only feels tight because of dirt or cross-threading, cleaning or diagnosis comes first. A larger bolt can change clearances, washers and mating parts, so it is not automatically the simpler answer.
The tool cannot decide whether the part is safe to repair. A bracket or cover with sound surrounding material is a different job from a brake, suspension, steering, lifting or structural fixing. If the finished thread affects load, alignment, sealing or personal safety, get the part assessed by someone competent before drilling. A repair kit supplies tools for a method; it does not validate the design or the condition of the casting.
Match the documented kit to the bench job
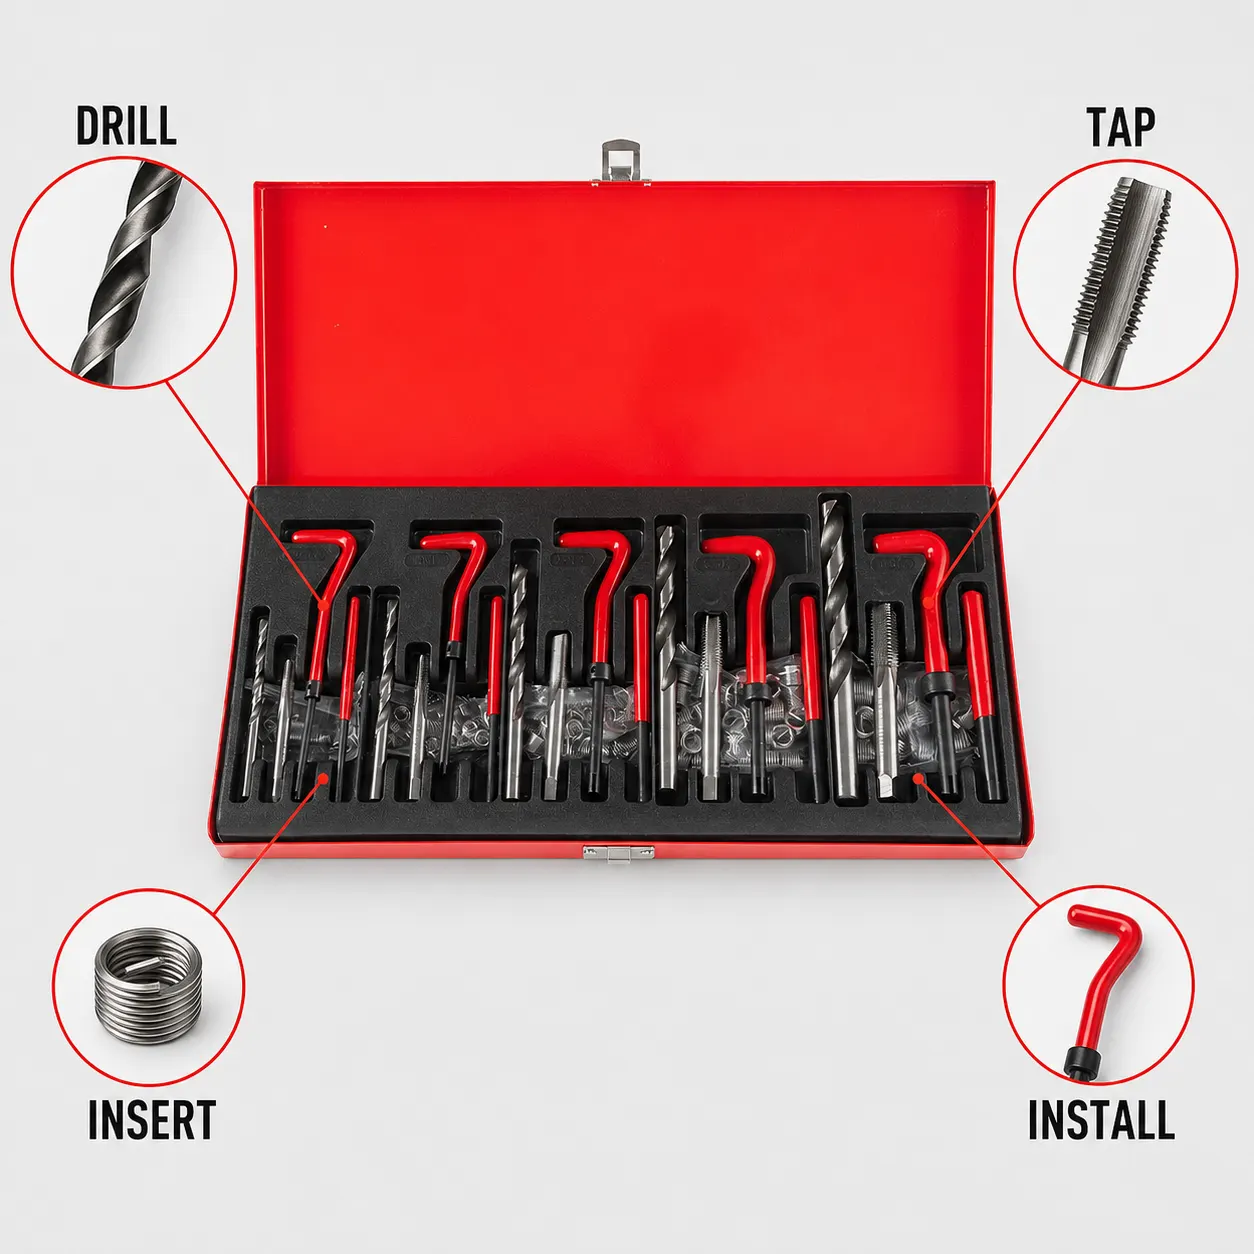
The product page describes a 131-piece thread repair tool kit in the locked M5-M12 configuration. It identifies taps and drills in the set, lists high-speed steel material, and names vehicle repair and home repair applications. Treat those as the confirmed product facts. The page does not establish a vehicle-specific fit, a particular insert length, a blind-hole solution, a sealing result, or a service-life promise.
Use this quick comparison before ordering:
| Check | What the product page supports | What still needs inspection |
|---|---|---|
| Size | Metric M5-M12 configuration | Original diameter and pitch of the damaged thread |
| Tooling | Taps and drills are identified | Which matching tools and inserts are supplied for this repair |
| Material | High-speed steel is listed | Whether the part and the job are suitable for the repair |
| Use | Vehicle repair and home repair are listed | Access, alignment, depth and debris control on the actual part |
Check the part before cutting metal
Before opening the case, identify the original bolt and confirm the hole is genuinely within the documented range. Inspect the surface for cracks, thin walls, distortion, oil, a sealing face or nearby cavities. Decide whether the part can be clamped securely and whether a drill and tap can approach squarely. A hole that cannot be seen, held or cleaned is a poor place to learn the process.
Plan swarf control before the first cut. Remove the part where practical, protect sensitive cavities, and have a way to collect and remove chips and the broken tang. Blind or shallow holes need depth judgement; the product page does not specify a special blind-hole arrangement. After installation, clear debris and check that the original-size fastener starts by hand. Do not use tightening force to cover a misaligned or damaged repair.
- Confirm the original fastener size and pitch, then compare them with the documented M5-M12 range.
- Inspect material condition, working access, hole depth, sealing surfaces and the consequences of debris.
- Lay out the matching drill, tap, insert and installation tools before cutting the part.
- Drill, tap, clean, install and test only according to the supplied instructions and the part's requirements.
- Stop if the fastener does not start smoothly or if the repair affects a critical assembly.
Know the limits before you buy
An insert repair is not a universal cure for a damaged component. The listed product facts do not claim a load rating, certification, vehicle compatibility, thread accuracy, corrosion performance, insert life or guaranteed result. Manufacturer does not specify those details on the product page, so they should not be filled in from the 131-piece count or the high-speed steel listing.
For a common metric thread in an accessible, non-critical part, this broader set is worth comparing with a single-size kit. For one uncertain hole, a shallow blind thread, a sealing face, an enclosed cavity or a safety-related assembly, the right next step may be a workshop or machine-shop assessment instead. Choose the tool only after the job, not the headline, has been checked.
Related guides and product details
If the original metric size is confirmed and the part can be worked on squarely with controlled debris, compare the documented M5-M12 set with the job. Otherwise, pause and have the part assessed before buying on piece count alone. Read M6 Helicoil Kit: How to Check the Hole Before Repair for related guidance. Read M8 Thread Repair Kit: Checks for a Stripped Workshop Hole for related guidance. Review the documented specification on the 131-Piece Thread Repair Tool Kit, M5-M12 product page before ordering.
Sources and safety context
- Supports the product name, M5-M12 configuration, 131-piece count, taps and drills, listed material and stated applications. Thread Repair Tool Kit product page.
- Provides manufacturer context for Heli-Coil threaded insert systems and installation tools. Heli-Coil Wire Insert Systems.
- Provides manufacturer installation and selection context for insert systems; follow the relevant instructions for the actual insert. Heli-Coil Insert Systems Catalogue.